

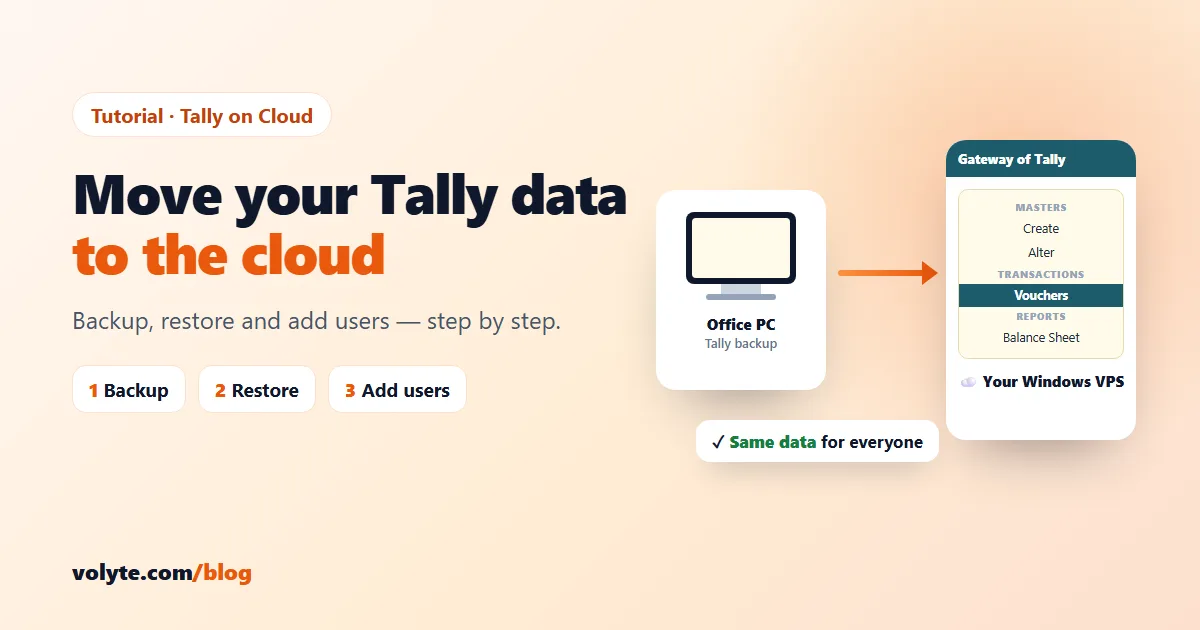
Running Tally on one office PC works — until the owner wants to check figures from home, the CA needs access during GST filing, or the PC's hard disk fails. Moving Tally to a cloud server keeps one copy of your books that everyone opens with Remote Desktop, from anywhere.
This guide moves an existing TallyPrime setup to a Windows VPS. Plan about 30–60 minutes, and do it when nobody needs to enter vouchers.
Before you start
- Your Windows VPS login — IP address, username, password and RDP port from your welcome email.
- Your Tally licence details — the Tally.NET ID (email) and password you activated Tally with.
- A quiet time — ask everyone to stop entering data until the move is finished, so no entries are left behind on the old PC.
Step 1: Back up Tally on your office PC
- Open TallyPrime on the office PC.
- Press Alt+Y (Data) and choose Backup.
- Set the destination to a folder that's easy to find, such as
Desktop\TallyBackup. - Select the companies to move (choose all if you're unsure) and confirm.
Tally creates a backup file named like TBK900.001 in that folder. Using the older Tally.ERP 9? The backup is under Company Info → Backup (Alt+F3); TallyPrime can open and upgrade that data later.
Step 2: Connect to your server and share your PC's drive
On your office PC, open Remote Desktop Connection (search for mstsc in the Start menu).
- Click Show Options and enter your server's IP. If your server uses a custom RDP port, enter it as
IP:port. - Open the Local Resources tab. Tick Printers and Clipboard.
- Click More… and tick Drives — this lets the server see your PC's files.
- Click Connect and log in.
On the server, open File Explorer → This PC. Your PC's drive appears as something like C on YOUR-PC. Copy the TallyBackup folder from there to the server, for example to C:\TallyBackup. Copying first is faster and safer than restoring straight across the internet.
Step 3: Install TallyPrime on the server
- Inside Remote Desktop, open the browser and download TallyPrime from the official Tally Solutions website.
- Install it with the default options. Use the same release as your office PC or a newer one — never an older one.
Step 4: Activate your licence
Start TallyPrime on the server and choose Activate Licence, then sign in with your Tally.NET ID.
If Tally says the licence is already in use on another computer, surrender it on the old office PC first (from the licence options in TallyPrime's Help menu), then activate it on the server. A single-user (Silver) licence works on one computer at a time.
Step 5: Restore your companies
- In TallyPrime on the server, press Alt+Y (Data) and choose Restore.
- Destination: the folder where Tally should keep your data, for example
C:\TallyData. - Source: the folder you copied,
C:\TallyBackup. - Select your companies and confirm. If Tally offers to migrate older data, accept — it converts the data to the current format.
Step 6: Check that everything arrived
Before anyone starts working, open each company and compare with the office PC:
- Balance Sheet and Profit & Loss totals for the current year.
- The last voucher date and number in the Day Book.
- A couple of busy ledger balances and stock items.
If everything matches, the move is done. Rename the data folder on the old PC (for example TallyData-OLD-do-not-use) so nobody keeps entering vouchers in two places.
Step 7: Give your team access
Give each person their own Windows user instead of sharing the admin login:
- On the server, open Computer Management → Local Users and Groups → Users and create a new user with a strong password.
- Add that user to the Remote Desktop Users group.
- Share the server IP, port and their own login with them.
Several people working in Tally at the same time need a TallyPrime Gold licence. As a guide, WVPS-1 suits about 3 people working together and WVPS-2 about 5–6 — see Tally on Cloud for sizing. Want access from a phone too? Follow our guide to connect to your Windows VPS from your phone.
Printing and Excel
- Printing: because you ticked Printers, invoices print on the printer connected to your own PC. Each person should tick it in their Remote Desktop settings too.
- Excel and PDFs: export from Tally to your PC's drive (shown under This PC), or copy-paste files thanks to the Clipboard option.
If something goes wrong
| Problem | Fix |
|---|---|
| Restore shows no companies | The source path must be the folder that contains the TBK… backup file, not a folder above it. |
| "Licence is in use on another computer" | Surrender the licence on the old PC first, then activate it on the server. |
| Your PC's drive isn't visible on the server | Disconnect, open Remote Desktop Connection → Show Options → Local Resources → More…, tick Drives and connect again. |
| Printer doesn't appear in Tally | Tick Printers in Local Resources, and make sure the printer works on your own PC first. |
| Second user can't log in | Check they have their own Windows user and are in the Remote Desktop Users group. |
Keep your books safe
- Take a Tally backup (Alt+Y → Backup) every week and download a copy to your office PC.
- Turn on Auto Backup for your server, and take a snapshot before installing a Tally update.
- Set a Tally password for each company, and remove Windows users when staff or your CA no longer need access.
Prefer us to guide you through it? Our team helps on chat, ticket and phone 24/7 in Hindi and English. Don't have a server yet? See Tally on Cloud plans.